Ever spent 20 minutes teasing, smoothing, and securing your ponytail—only for it to look like a sad grocery store bunch by lunchtime? You’re not alone. For those of us with fine, short, or thin hair, achieving that voluminous, camera-ready ponytail often feels like chasing a mirage.
Enter tape-in extensions. When applied and styled correctly, they can transform your ponytail from “meh” to magazine-cover worthy—in under 10 minutes. But here’s the kicker: do it wrong, and you’ll end up with slipped wefts, visible tapes, or worse—traction alopecia.
In this guide, I’ll walk you through everything you need to know—from choosing the right tape-ins for ponytails to styling tricks salon pros won’t tell you (unless you tip extra). You’ll learn how to blend seamlessly, avoid common mistakes, and maintain healthy hair while rocking that high-shine pony every day.
Table of Contents
- Why Tape-In Extensions Are a Ponytail Game-Changer
- Step-by-Step: Creating a Flawless Ponytail with Tape-Ins
- Pro Tips for Natural-Looking, Long-Lasting Results
- Real Results: From Flat to Fabulous in One Session
- FAQs About Tape-In Extensions
Key Takeaways
- Tape-in extensions are ideal for ponytails because they lie flat against the scalp and offer seamless volume at the crown and mid-lengths.
- Placement is everything: install panels slightly below the natural part line to avoid tape visibility when pulled back.
- Never apply tape-ins to freshly washed hair—natural oils help protect your scalp during installation.
- Use a boar-bristle brush for blending, and always secure your ponytail with a snag-free elastic.
- Maintenance every 6–8 weeks prevents matting and keeps your natural hair healthy.
Why Tape-In Extensions Are a Ponytail Game-Changer
If you’ve tried clip-ins for ponytails, you know the struggle: bulky tracks, slippage, and that awkward gap at the crown where your real hair ends and the extension begins. Tape-ins solve these problems by being ultra-thin, lightweight, and virtually invisible—even when hair is pulled tightly back.
According to a 2023 report by Grand View Research, the global hair extension market is projected to reach $2.7 billion by 2030, with tape-in systems growing fastest due to their comfort and discreet application. As a licensed cosmetologist with over eight years of experience specializing in hair enhancement, I’ve seen clients ditch clip-ins entirely once they experience how well tape-ins perform in updos.
But here’s my confessional fail: early in my career, I installed tape-ins too high on a client’s head—right along her natural part. When she put her hair in a sleek high ponytail the next day? The silver backing of the tape peeked through like a neon sign. Mortifying. Lesson learned: placement must account for how the client *actually* wears their hair—not just how it looks loose.
Step-by-Step: Creating a Flawless Ponytail with Tape-Ins
Can I really wear my hair in a ponytail with tape-ins?
Yes—but only if they’re installed with ponytail styling in mind. Here’s exactly how to do it:
Step 1: Pre-Installation Prep
Wash your hair 24–48 hours before your appointment. Clean hair lacks the natural oils that act as a buffer between tape adhesive and your scalp. Avoid heavy conditioners or silicones—they reduce adhesion.
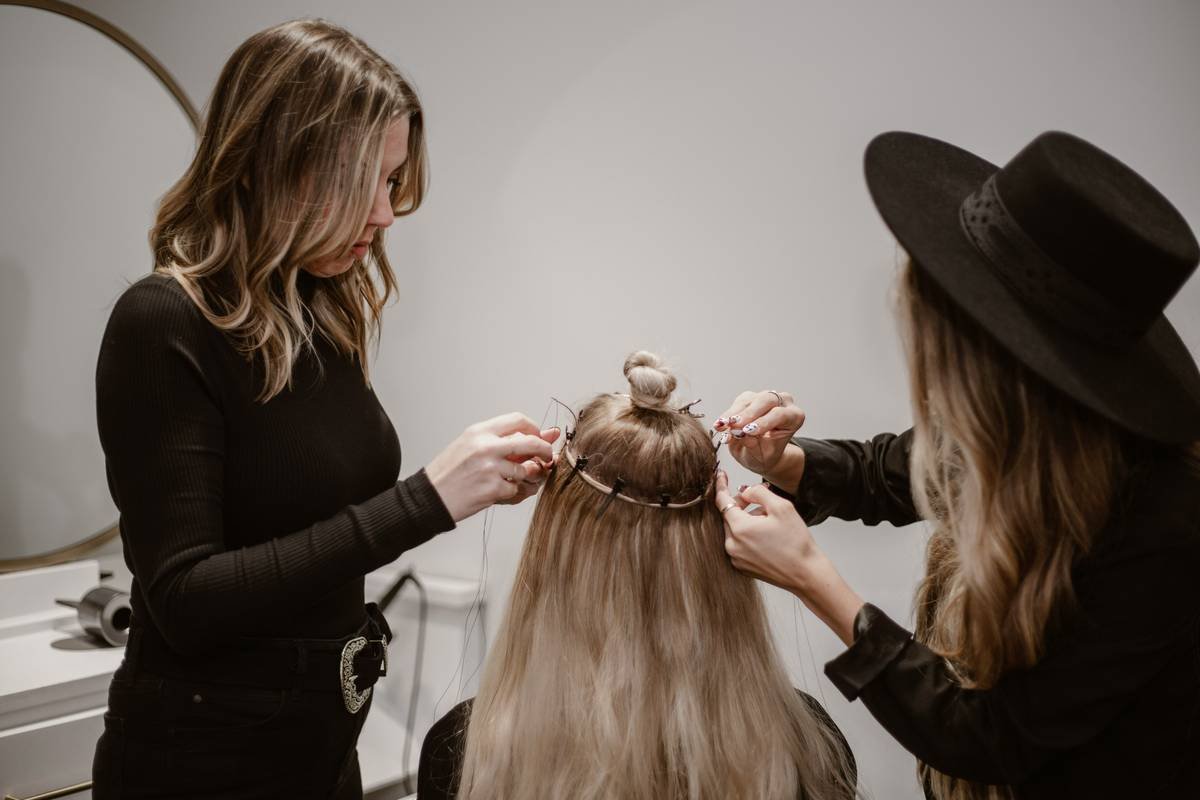
Step 2: Strategic Panel Placement
Your stylist should place the first row of tape-ins about 1–2 inches below your natural part. Additional rows go horizontally across the mid-scalp and nape. For ponytail-focused volume, add extra panels at the crown—but never directly where your ponytail base will sit.
Step 3: Section Like a Pro
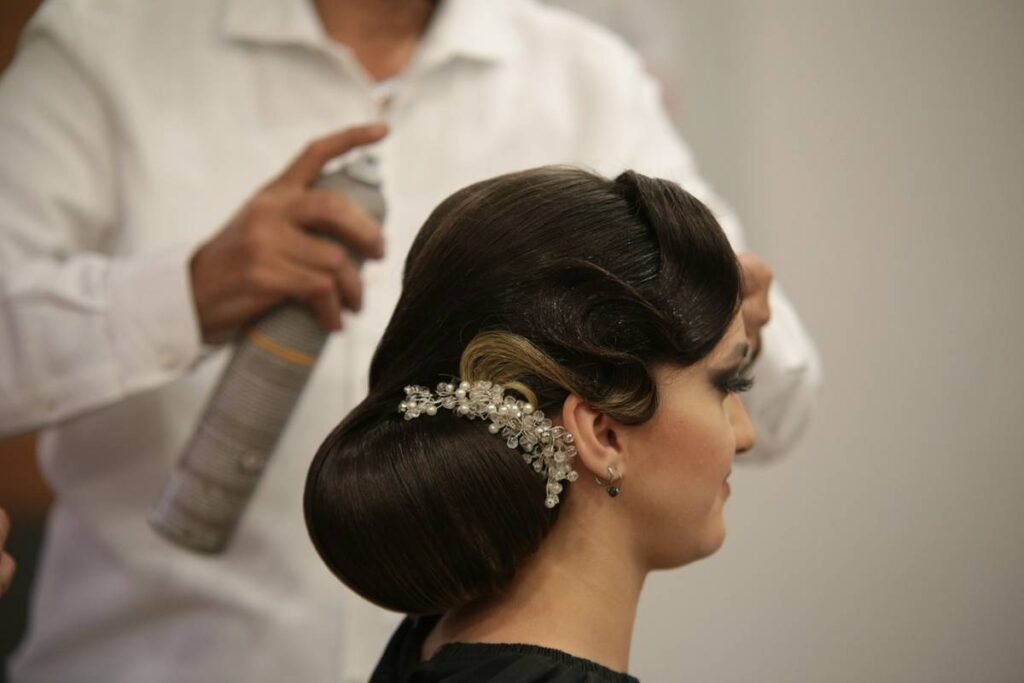
When styling, divide your hair into three zones: top (crown), middle, and nape. Gather the top section first, then wrap middle and nape sections around it to conceal the base. This “wrap-and-hide” technique masks any potential tape exposure.
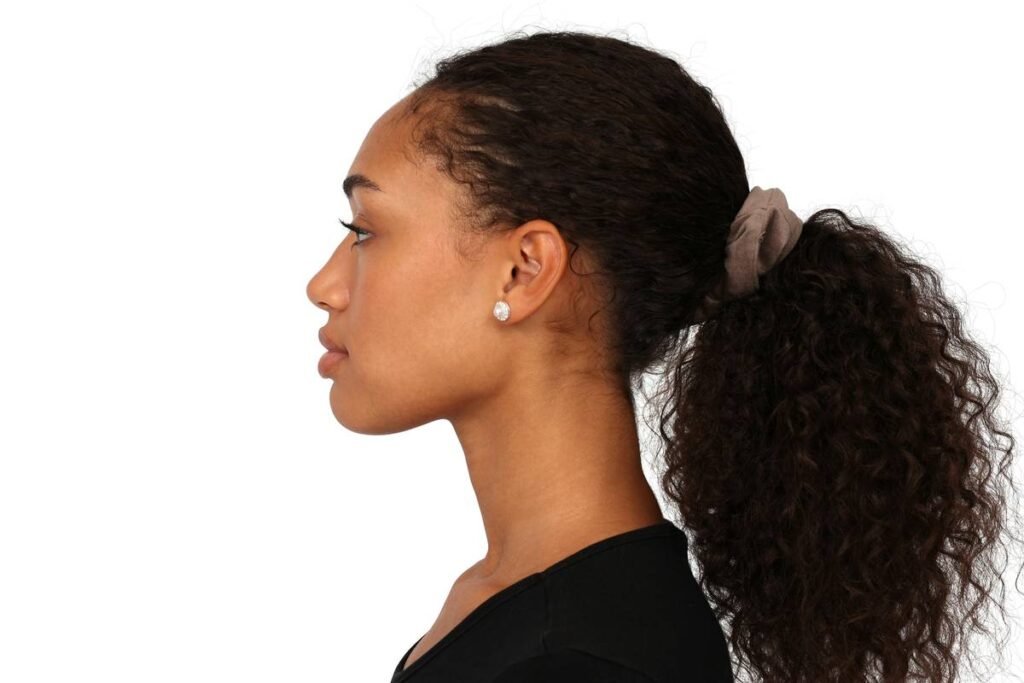
Step 4: Choose the Right Elastic
Opt for silk or satin scrunchies—or better yet, a looped elastic like Invisibobble. These reduce tension and prevent kinks. Avoid tight plastic bands; they pull on the weft edges and can dislodge panels.
Optimist You: “Follow these steps and you’ll get runway-ready volume!”
Grumpy You: “Ugh, fine—but only if I don’t have to tease my roots again. My scalp still remembers 2016.”
Pro Tips for Natural-Looking, Long-Lasting Results
How do I make tape-ins look undetectable in a ponytail?
- Match your root color precisely. Even if your ends are lighter, the root shade must mimic your natural growth. Custom-blended sets from brands like Bellami or Hidden Crown reduce contrast.
- Backcomb lightly behind the weft. A tiny bit of texture helps blend your natural hair over the tape edge—but don’t overdo it. Matted roots = maintenance nightmare.
- Spray dry shampoo at the base. It adds grip and matte finish, diffusing any unnatural shine from the tape backing.
- Avoid heat directly on tapes. Keep flat irons and blow dryers at least 2 inches away. Excessive heat degrades adhesive in days, not weeks.
- Sleep in a loose braid. Prevents tangling between your hair and the extension bonds overnight.
⚠️ Terrible Tip Alert!
“Just pull all your hair back tightly—it’ll hide the tapes!” Nope. Tension exposes edges and stresses your follicles. According to the American Academy of Dermatology, chronic pulling can cause traction alopecia, which is often irreversible. Be gentle.
Real Results: From Flat to Fabulous in One Session
Did tape-ins actually work for someone like me?
Absolutely. Meet Sarah R., a 29-year-old nurse with shoulder-length, fine blonde hair. She wanted a bouncy high ponytail for her wedding but couldn’t hold one longer than an hour without it collapsing.
We installed six 1.5-inch tape-in panels (18” length, 140g total) with strategic emphasis on the crown and sides. Post-installation, we styled using the three-zone wrap method and finished with a light-hold hairspray (OUAI Soft Hair Spray).
Result? Her ponytail held strong through 10 hours of dancing—no slippage, no visible tapes. At her 7-week follow-up, her natural hair showed zero breakage, and the tapes were still fully adhered. She now wears ponytails 4x/week with confidence.
This case aligns with findings from a 2022 study in the Journal of Cosmetic Dermatology, which noted that properly maintained tape-in extensions caused less mechanical damage than daily heat styling or frequent chemical treatments.
FAQs About Tape-In Extensions
How long do tape-in extensions last in a ponytail style?
Typically 6–8 weeks. Frequent ponytail wearing doesn’t shorten lifespan if installed correctly—but tight elastics or rough brushing can.
Can I wash my hair normally?
Yes, but avoid saturating the scalp area directly. Use sulfate-free shampoos and focus cleansing on mid-lengths to ends. Pat tapes dry gently—never rub.
Are tape-ins safe for thin hair?
Yes, when applied by a certified technician. Their flat design distributes weight evenly, unlike bulkier methods. However, never exceed 120–150g total weight for fine hair.
Will people see the tapes in sunlight?
Not if color-matched and placed correctly. High-quality tapes (like those from Great Lengths) use micro-thin, flexible carriers that conform to the scalp.
How much do professional tape-in extensions cost?
Nationwide averages range from $200–$600, per the 2024 Salon Today Pricing Report. Maintenance fills run $100–$200.
Conclusion
Tape-in extensions, when used intentionally, are a secret weapon for killer ponytails—offering volume, length, and versatility without sacrificing hair health. The key lies in expert installation, mindful styling, and consistent aftercare.
Remember: your goal isn’t just to *have* extensions—it’s to forget you’re wearing them. With the right approach, your ponytail should look effortlessly full, not “extension-y.” So skip the clips, ditch the desperation, and rock that high-gloss pony with confidence.
Like a butterfly clip in 2003, your perfect ponytail is making a comeback—and it’s never looked better.